To Start with Google Dialogflow CX, you first need an account in Google Dialogflow. In my previous blog I have explained how to create a free account in Google Dialogflow.
Here I am assuming you already have an account in it. To start it with, let’s got to Dialogflow Console. You will land to below page.
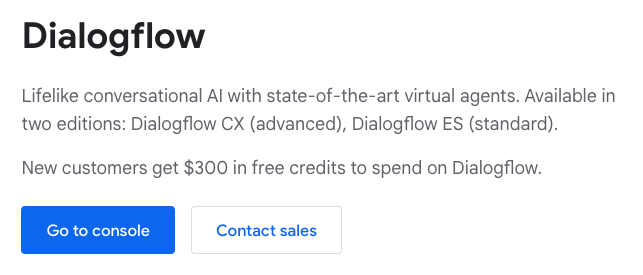
- Just click on “Go to console”.
- You will get an option to “Select Project” or create a “New Project”.
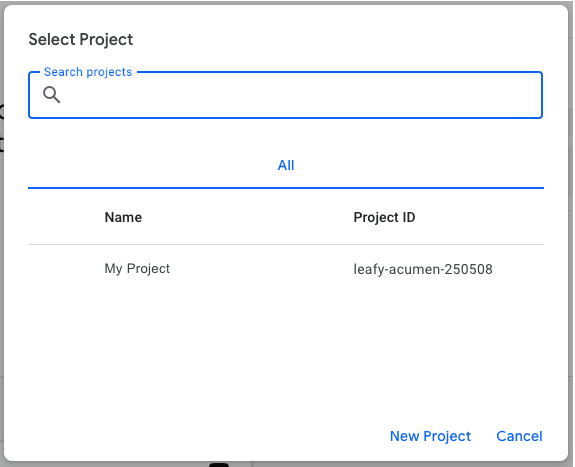
- After that give your desired project name, then you will land to the below page.
- And your project name will be auto selected into the dropdown of the projects.

- Once your project is created you need to activate the Dialogflow API.
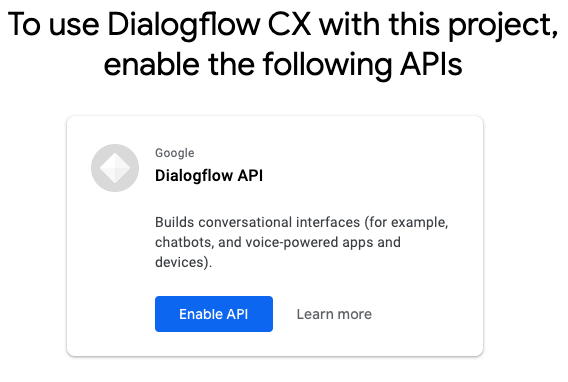
- Then you will get an option to create an agent.
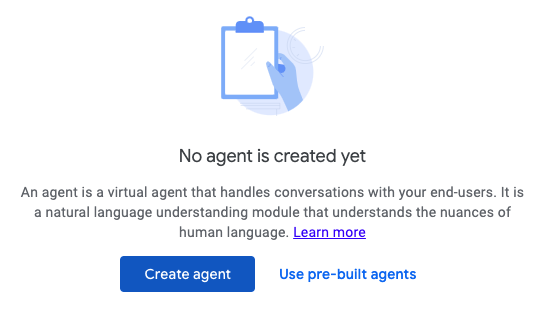
- Just click on “Create agent”.
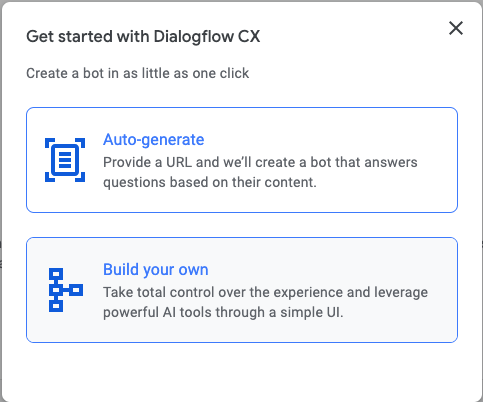
- Once you click on it you will get two options “Auto Generate” and “Build Your Own”.
- Here we will click on Build your own.
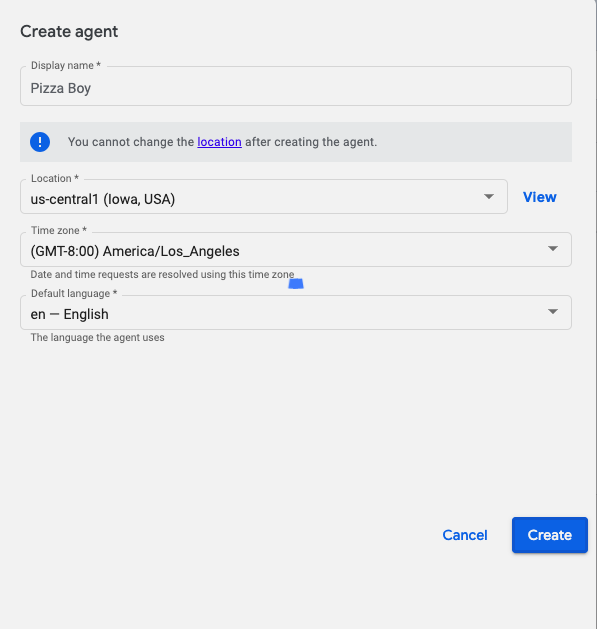
- Give a good name to your chat bot agent like below.
- Then we will get a page like this to start with our Chat Bot.
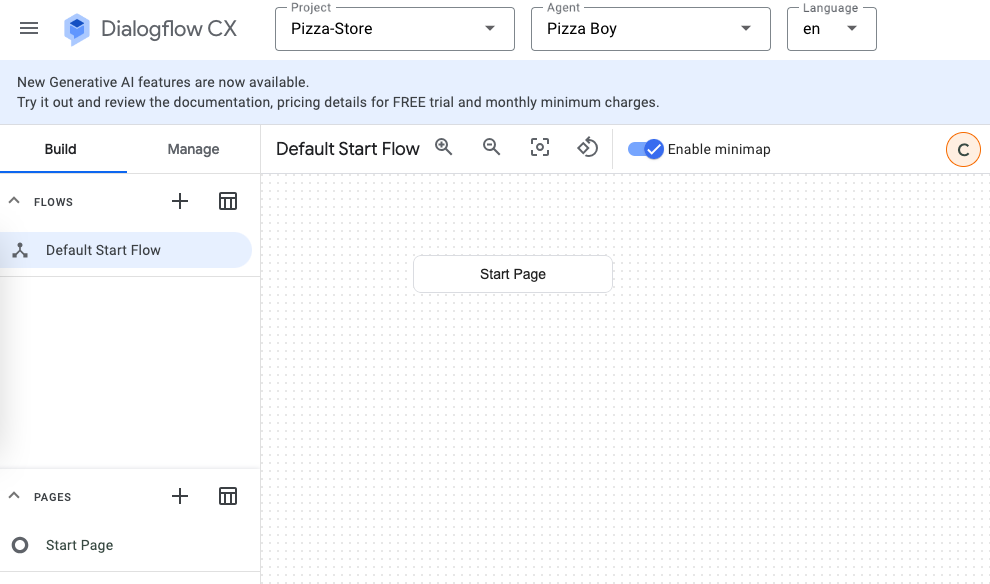
Till now we have achieved.
- Created a Dialogflow CX Project, in our case it is “Pizza-Store“.
- Have created an agent with the name of Pizza Boy.
- In our next blog we will see how to train our Pizza Boy to serve Pizza.
